
More computer issues! Find the farm's contact below...we are working on it.
Two more Baskets remaining for the 2014 season! If you want to eat with us this season, contact soon...
Two Intern positions open for the 2014 season. If you want to dig with us this season, contact soon...
This post is already outdated. Once we have our computer issues resolved, we should be back to weekly posts. In the meantime, settle down for a good read about what we were up to about two weeks ago.
I have tried to get the layout right, but it is getting late. Time to pack the lunch and get out there.
Morning at Whitsend...

Frost days are always an early start.
I place row covers over the plants in the evening. During the night, the ground releases its heat. The row covers hold that heat around the plant, preventing the frost from accumulating on the crops.

I also use the row covers to keep bugs off the plants (Flea beetles off of young cabbage family crops, and Leek moths off of the Garlic).
I have also used them for slowing down evaporation of moisture from seed beds, shading crops intolerant of too much heat, and for providing some protection to crops after they have been transplanted. This year, I am experimenting with using straw for these last two uses.
The biggest drawback about using covers is that they are time consuming to work with, have a working life of about 2 years, and they cut down light transmission by about 15 %. As well, I think they look ugly.

We'll start in the nursery, where most of the growing action is taking place. These are Green Onions in cell packs.
Many of our crops are started in seed trays, and then promoted up to cell packs. This allows the individual plants to develop in a controlled environment. Weak plants can be weeded out and the best ones reserved for planting in the field.
Here are lettuces that are a couple of days from sprouting. Lettuce can also be direct seeded, however, not all seeds will germinate. This would leave gaps in the bed, which would be a waste of space.

The shiny background is an aluminized bubble wrap insulation. An added layer of warmth that distributes light more evenly in the nursery.

Ideally, these will be potted up one size to stimulate growth. Due to the amount of space in the nursery, not all Peppers will get this additional opportunity to develop before transplant.
The earliest round of crops are now being hardened off in an outdoor shelter. For increasingly longer periods of time, these plants are subjected to direct sunlight, wind, and some chillier conditions. This reduces the chance that the shock of transplant will not affect the plants for too long, allowing them to start growing into the bed sooner.

 And now out into the field. Everything has started to thaw out from last nights low (in the field) of minus 2. I have found that our weather is matched to Ashton (as opposed to Ottawa airport or Gatineau. Listening to the weather reports requires a bit of a guess as to what the predictions are for our particular area - Environment Canada does not give weather reports for this micro climate.
Ready for landing…these beds are set to receive their transplants and or seeds over the coming weeks. Each week, we use a co-linear hoe to disrupt the weeds as they sprout. This method, repeated once a week for three weeks, remove most weeds that will germinate during the season. Hoeing a bed takes minutes. Pulling mature weeds by hands takes considerably longer.
Each year, a few of the paths in between the beds are seeded over to Dutch clover. This suppresses weed growth in the paths, retains moisture in the ground, and provides a bit of nitrogen for the soil. It also looks attractive and gives the knees of my field jeans an even color.

 Here are the earliest of our Snow Peas. The
New Zealand Spinach will be ready to be transplanted here when the Peas are finished. The Peas provide extra nitrogen for the soil. Leaf crops such as NZ Spinach grow best in nitrogen rich soil.
Ideally, crops should be sown in straight lines. This improves the ease with which the co-linear hoe can be used, and saves a lot of time. Apparently, I wasn't quite on the mark this time around.
Ideally, crops should be sown in straight lines. This improves the ease with which the co-linear hoe can be used, and saves a lot of time. Apparently, I wasn't quite on the mark this time around.
Most of our climbing plants, such as Peas and Tomatoes, are grown using the "basket weave method". Stakes are placed at even intervals around the bed, and then as the plants grow, a new line of twine is tied around the stakes. This is a very simple method that uses less material and effort than other methods of trellising.


Another advantage of using the hoe to cultivate is that it breaks up the soil surface to allow rain to penetrate the soil more effectively.
A third benefit is that it incorporates the compost that is added to the soil surface. I prefer to top dress my compost as it allows the compost to remain close the the root zone of the crops. Most veg crops have relatively shallow roots. Machine tilling the compost deep into the ground would leave the compost too far down for many crops to take advantage of.

Dutch hoes have there place, I have used them to level out ground for a turkey shelter at Elmtree.
Both of these photos by Scott Costen.
A safety no-no in the back ground - spot the rake set tines up. A great money maker for dentists.
The Co-linear hoe is my favourite tool – it also hills beans and potatoes, and does a decent job edging beds.
 In addition to all of the preparation work, maintaining the crops that are already out there still needs to be done.
Finding little efficiencies is the number one most important factor in the success of a small farm. Here, I should be using both hands - one pail on each arm to water both rows of peas at the same time. I am assuming that in this picture, there was just a little bit of extra water required at the end of the bed.

Here is your Garlic from a couple of weeks ago. Almost 100% emergence, a slight improvement over last year. As always, it is a bit of a guessing game as to what is occurring underground.
Assuming the bulbs develop well, each Snack Basket should receive 5 bulbs minimum, Picnic Basket shares a minimum of 10 bulbs each, and Feast Baskets twenty bulbs. These will be harvested in mid July, cured for two weeks, and distributed in early August. All varieties will be initialled so that you can have the opportunity to compare the different types.
In addition to bulbs, customers will receive garlic shoots in your first baskets. These are chopped into salads, soups, stews, anywhere you want a bit of garlic. The stem, leaves and miniature bulb are all edible, though the flavour is strong – use moderately!
As of last week, the garlic has grown considerably. Five beds with eight varieties, plus another bed with garlic shoots (not to be confused with scapes).

All of the garlic was planted last fall, and covered over with straw to prevent the bulbs from freezing.

Here, the straw has been pulled back to take inventory and cultivate the beds. The straw stays on until harvest to continue suppressing weeds and retain moister, two factors that are critical for the success of a garlic crop - they are a thirsty plants that don't like competition.
This is a leaf mold compost. Unlike the regular compost used for producing vegetables, this compost relies on mold instead of bacteria for breaking down the organic matter. Apparently, garlic responds to leaf mold very well.

This compost is positioned near the gate for two reasons. First, the beds for next year’s garlic are nearby, so it is pre-positioned in anticipation of getting the garlic beds prepared for the fall planting. As well, they are sitting in the spot reserved for the third perennial bed. While we finish the second perennial bed, the leaf mold compost suppresses the weed growth until we are ready to start building the third perennial bed.

When I started the leaf mold compost last fall, I placed the pile where the second perennial beds was to be built, to knock back some of the grass turf. Now that it has been removed, work can begin.
Hardscaping is not a technique that I am very familiar with. Second hand books, libraries, internet, farm texts all have a few (sometimes contradictory) good practices to follow.

While working here, I found some leftover compost-rich soil from my first compost pile that was situated here in our first year. Buried treasure...I can use this elsewhere.
Sometimes common sense and thinking ahead are the best guides. What will the weed growth from the fence line make this look in two months?
I have cut through the rest of the turf, removed the quack grass rhizomes (root-like structures), and placed large flat rocks for the foot path around the perimeter. Then, the loose soil is raked up and the smaller flat rocks and the more decorative rocks are built up around the raised bed.

The rocks will provide a lot of warmth late in the season when the nights get cooler, allowing the plants to enjoy a slightly longer season.
The plants chosen for this bed are self seeding. They should continue to produce next year. the key will be to heap lots of straw around them to prevent the roots from freezing. Still a little work to do to finish it off.
The plants chosen for this bed are self seeding. They should continue to produce next year. the key will be to heap lots of straw around them to prevent the roots from freezing. Still a little work to do to finish it off.

I have always tried to adhere to the “use what you have” ethic. When clearing the land for veg production, I found that I had an unlimited supply of rock. So we use the big flat rocks for landscaping, the small flat rocks for mulching our perennials, and the largest rocks keep the watering hoses from getting dragged into the beds.
The
smooth rocks hold down our row covers (rough rocks would tear the
covers).

Occasionally we find something a little more decorative. Spot the fragment of sodalite...
The archaeology of the farm can make for a bit of fun as well. I am considering saving all these to make a sign out of. Bits of chain, lug nuts, part of a very large key, a perfume bottle, 12-penny nails, tractor bits, a decorative copper cat, old glass electrical insulators, shards of crockery, and even a tent peg I lost in my first year here. The most interesting find was an old hand wrench. The occasional bone turns up as well.
 Not all 'finds' are appreciated. Some of the field preparation was held up by a big pile of rocks just under the surface of the soil. The rocks ranged in size from grapefruit to watermelons. All of them were crumbled and scorched as if from heat. I assume it is the sight of a very old fire pit.
Still waiting to come across a rare meteorite, lumps of gold, or a buried viking settlement...
 Most of the rocks wind up being used as the base for supporting our gravel pad.
Saved me from purchasing a lot of
gravel…Makes me feel a bit better after hoisting all of this out of the ground.
Most of the rocks wind up being used as the base for supporting our gravel pad.
Saved me from purchasing a lot of
gravel…Makes me feel a bit better after hoisting all of this out of the ground.
The gravel pad still has a few feet to go before it is complete. Then, the log (pictured) will be trimmed to size and placed as the border to contain the rock from spreading outward.

Work around the barn is on-going. During my first year, the "prep station' was little more than a bench top supported by some hay bales. Each year, the work station improves. It's starting to look like a farm...
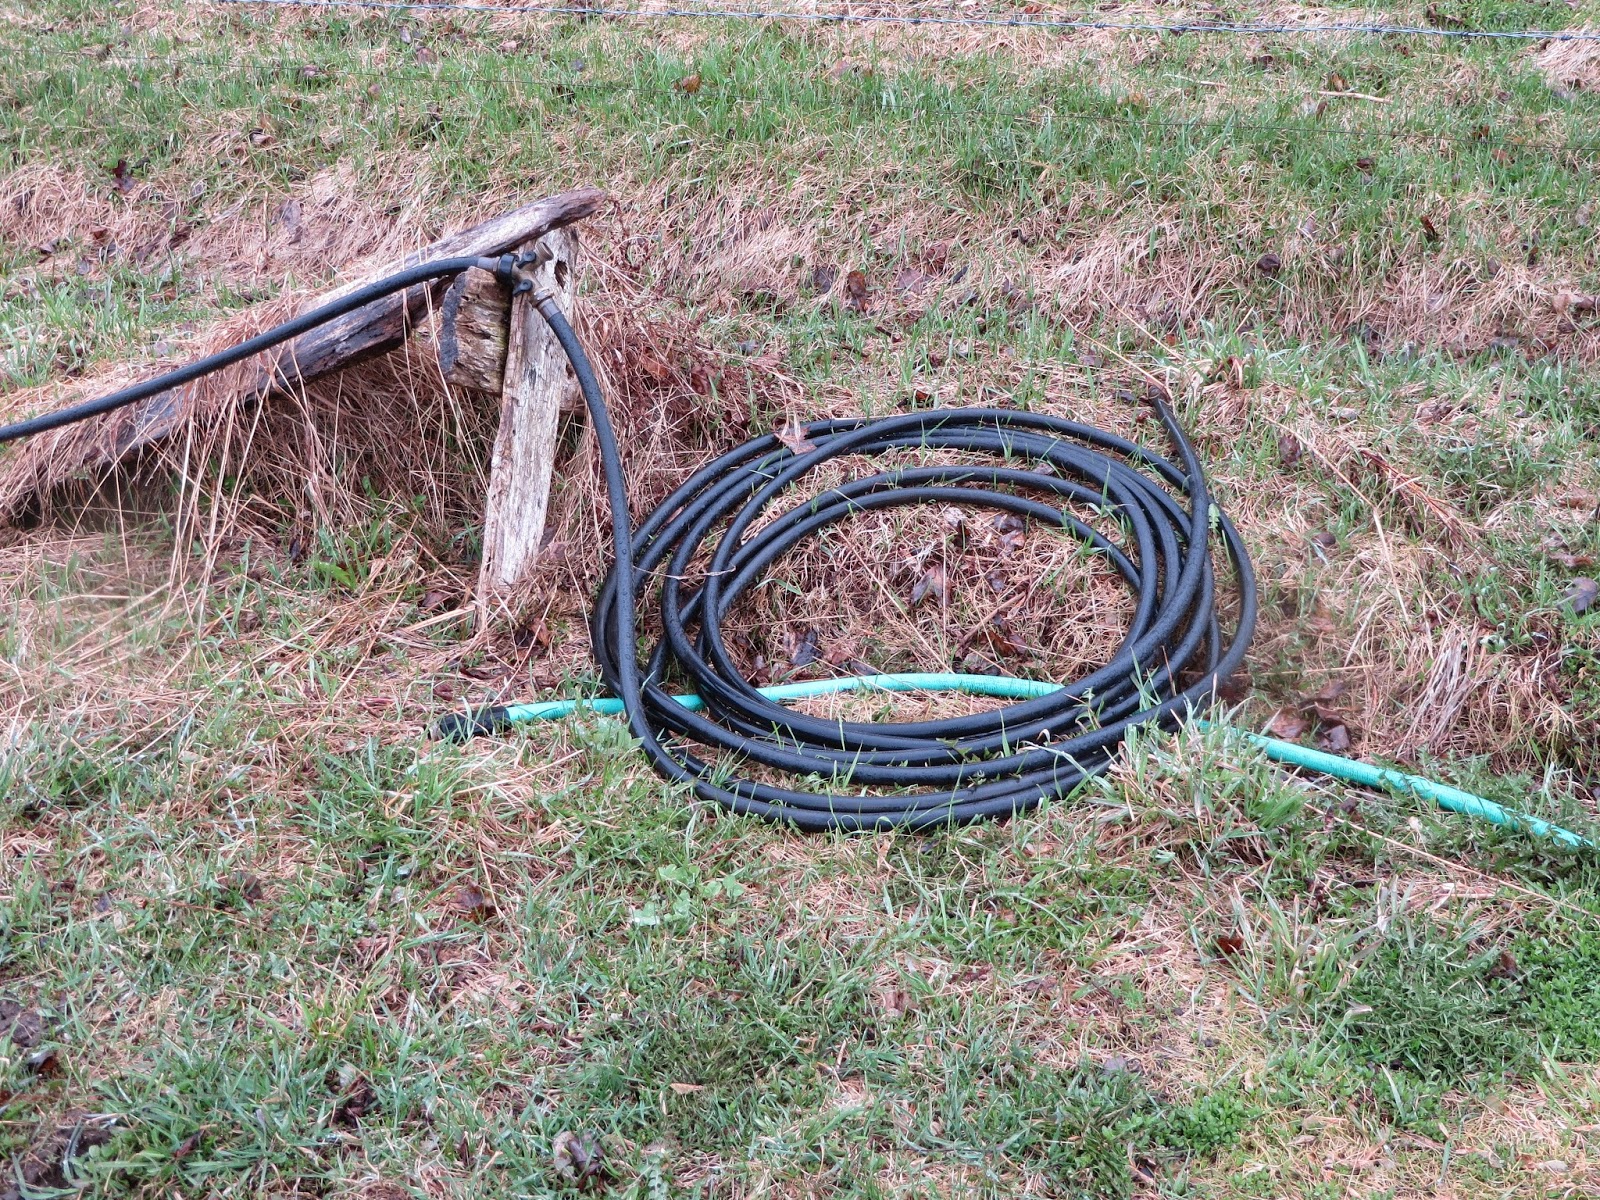 No matter how much work to be done, there is always the "put it all away properly routine" to leave time for. Clean the tools, pre-position the buckets make coiled hoses much more user friendly.
 Also makes the field more attractive, and improves the "thinking environment". Less clutter, less distraction.

Update as of June 2 - our Swallows seem to be having difficulty laying viable eggs. The mating doesn't seem to stop and yet there are no tell-tale activities of feeding or brooding going on at the house.
Time to quit writing about growing food, and start getting supper ready.
Talk to you soon,
Bob
Post Script:


